GeoNav
Overview
GeoNav is used to automatically navigate between entries in the field based on the location of a high precision GNSS device. This feature requires field entries to have high-precision location data collected via the  GNSS Trait or included in the field import file. Imported coordinates must be in
 Lat;Long format in a single geo_coordinates column. Refer to the rtk_sample.csv file in the field_import directory as an example.
To use GeoNav, navigate to the  GeoNav Settings and enable GeoNav. Turn on Bluetooth, and pair your external reciever. Navigate to the Collect screen and look for a confirmation message that says ‘Rover communications estabished’

The Collect screen GeoNav confirmation message
Once the rover is connected, Field Book will automatically display the nearest plot in the bottom toolbar. Press the  icon on the right to jump to the plot.

The Collect screen bottom toolbar showing the nearest plot for manual geonavigation
To enable automatic geonavigation, press the  icon that appears on the right in the top toolbar. It will change to a
  icon indicating that automatic geonavigation is enabled. Field Book will automatically switch to the nearest entry as the device moves around the field, displaying the following message on each switch.

The Collect screen message when the entry changes during automatic geonavigation
Example

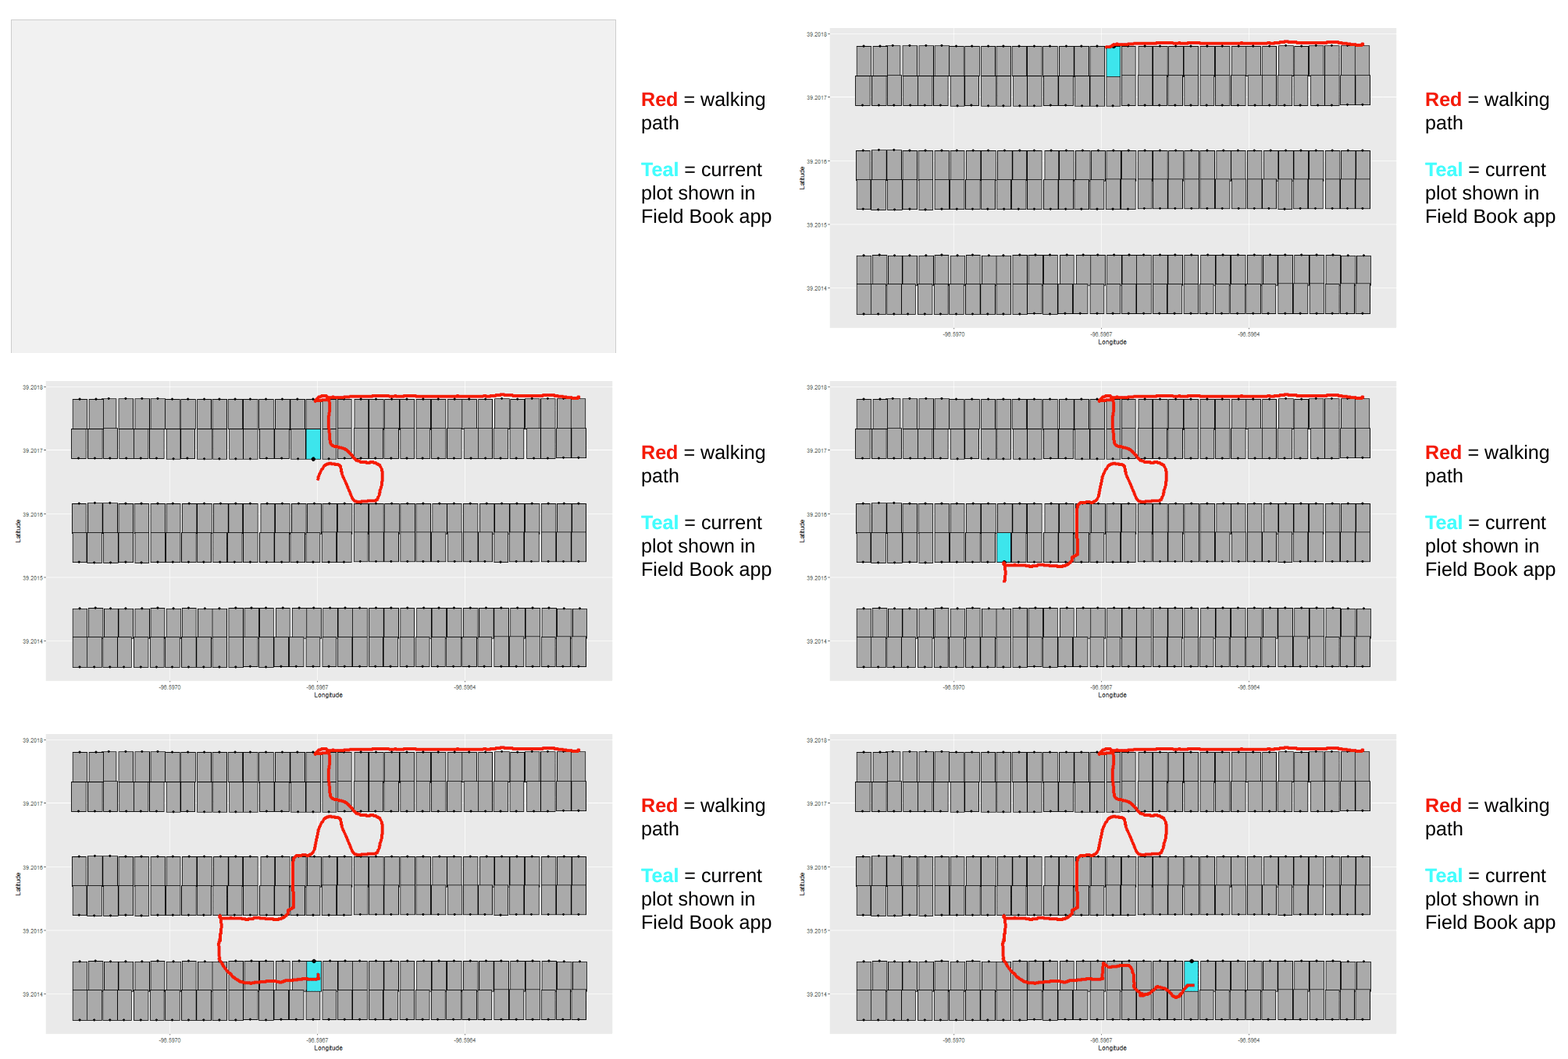
GeoNav automatic navigation demonstration.
Recommendations
This section provides the original hardware recommendations from when the Geonav feature was first developed in conjunction with the Breeding Insight OnRamp project. It also includes instructions for deploying the suggested devices to use the GeoNav feature in the field.
While not covered in the original recommendations, Emlid’s new Reach RX device is also suitable for Geonav, and comes with a simplified setup process. Devices from other manufacturers should also work with the Geonav feature, as long as they broadcast using the NMEA protocol.
Supplies
Instructions (field use)
Turn on BASE and ROVER, wait for both to broadcast WIFI hotspots
In TABLET settings, join ROVER WIFI.
In Reach3 app, navigate to ROVER WIFI settings. Connect ROVER to BASE WIFI.
Go back to TABLET settings, now connect TABLET to BASE WIFI
In Reach3 app, connect to BASE. Navigate to Base Settings. Wait until the BASE collects enough data to report a “single” position in the left hand corner and click apply.
In Reach3 app, connect to ROVER. Navigate to BT settings and turn on ROVER BT. Turn off and on again if you’ve forgotten the BT password (currently it is 1111).
Go back to TABLET BT settings. Turn on TABLET BT. Select ROVER from list of available devices and input password when prompted.
Finally, navigate to FIELDBOOK. Start collecting data. When prompted for GNSS trait, select ROVER.
Emlid’s own documentation for the RS2 and M2 can be found here (RS2 docs) and here (M2 docs)
Kits and Cases
Complete kits and matching 3D Cases for M2 hardware are available for purchase online: